Create dynamic actions in menus

Prerequisites

Modules

Checkout branches

git checkout origin/osp-alarms-configuration .
git checkout origin/osp-web-configuration .
git checkout origin/osp-network-monitoring-configuration .

Note

The module Network monitoring is required for do the action added to the menu.

Description

The tutorial guides you through the creation and utilization of menus to define action menu for the alarm table. Within the web module, the root/alarms directory is automatically established, including an initial menu. The steps include integrating this menu into an existing alarm table and introducing a new one.

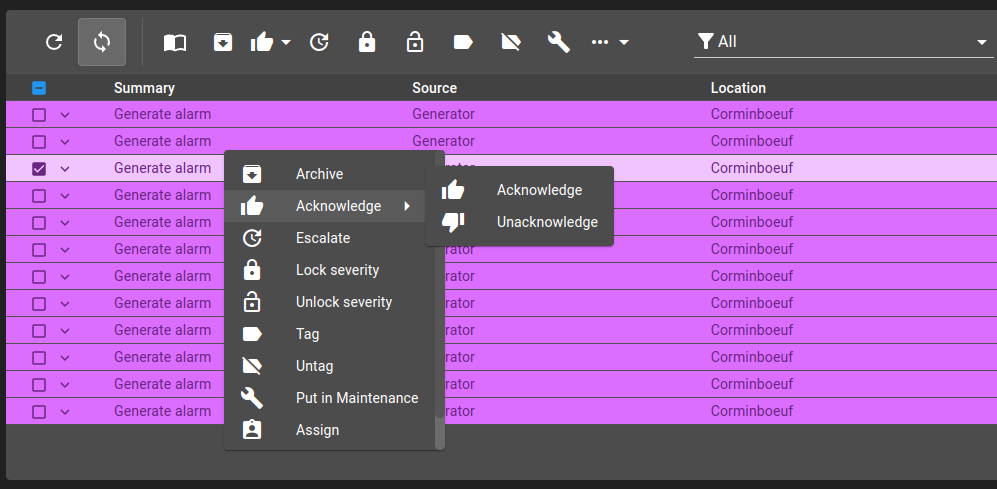
In summary, we incorporate a ping action through a right-click on an element within the alarms table.

Steps

1. Create a dashboard with an alarm table

The first step is to define a dashboard see this other example for how to.

2. Adding a menu to the alarm table

As previously stated, the web module automatically generates a menu. To integrate this menu with the alarm table, you must configure the menuReferences property of the alarm table, assigning one or more menu IDs. Each menu ID corresponds to its respective path.

Note

For the default one, the id is root.alarms.menus.

The alarm table should look like this:

root/dashboards/alarm/dashboard.view

{
    "configuration": [
        {
            "type": "AlarmTable",
            "id": "amq94Tog",
            "title": "",
            "menuReferences" : ["root.alarms.menus"],
            "alarmWidgetSettings": {
                "defaultFilter": "root.alarms.filters.all",
                "defaultView": "root.alarms.views.default"
            }
        }
    ],
    "layout": {
        "lg": [
            {
                "w": 12,
                "h": 4,
                "x": 0,
                "y": 0,
                "i": "amq94Tog"
            }
        ]
    },
    "breakpoints": {
        "lg": 1200,
        "md": 996,
        "sm": 768,
        "xs": 480,
        "xxs": 0
    },
    "cols": {
        "lg": 12,
        "md": 10,
        "sm": 6,
        "xs": 4,
        "xxs": 2
    }
}

1. Refresh the dashboard and visualize the menus

The menu is shown when you right-click on the table and directly in the table toolbar. Available actions should change depending on the conditions set in the menu description.
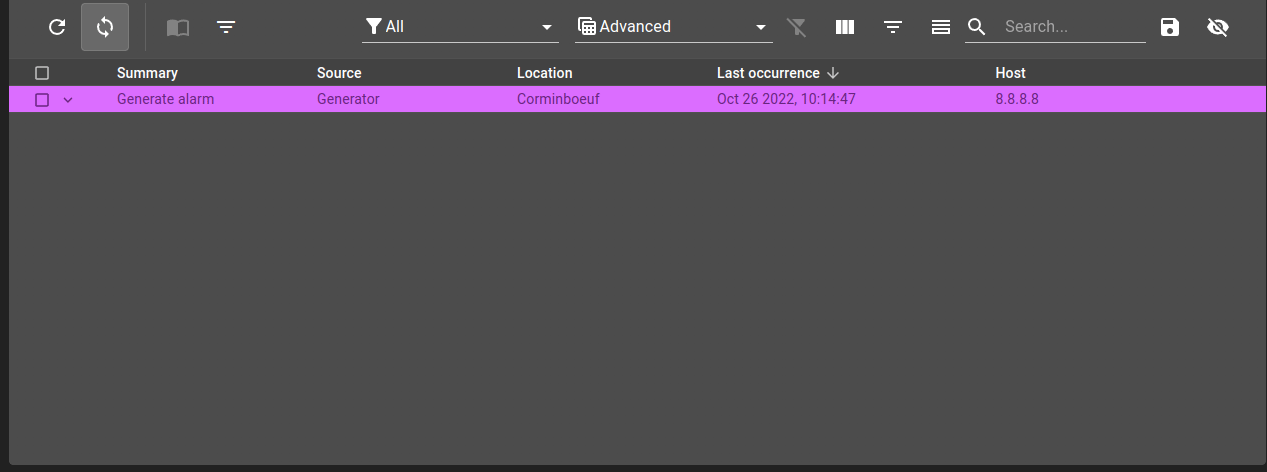
../../_images/example-alarm-menus.png

4. Adding a new element in the menu

As an example, we will add an option to ping a host. We will need to set as an input the alarm we click on and get the host property of this alarm.

Note

The action is only available only on single row selection.

root/alarms/actions/ping/action.ospp

{
    "moduleId": ["modules.web.web-1"],
    "actionModuleId": "modules.network-monitoring.network-monitoring-1",
    "type": "PING_TARGET"
}

We can add this entry to the configuration menu:

root/alarms/menus/menu.web

{
    "label": "Ping",
    "icon": "network_check",
    "context": [
        {
            "type": "AlarmTable",
            "action": "root.alarms.actions.ping",
            "condition": "${alarms.selected}.length === 0",
            "input": {
                "host": {
                    "extract": "alarms.clicked.additionalData.host",
                    "as": "string"
                }
            }
        }
    ]
}

1. Refresh the dashboard and ping an host

../../_images/ping-alarm-table.gif

Add this example in your configuration

You can directly use the following command to add this example into your configuration :

git checkout origin/example-dashboard-alarm-table-menus .