Generate reports from AlarmTable
Prerequisites
Modules
Checkout branches
git checkout origin/osp-alarms-web-configuration .
git checkout origin/osp-reports-configuration .
Description
In this tutorial you will learn how to define a report and how to generate it by using an alarm table menu.
We will create a report that will take an alarms list and display some data about those alarms in a table format. This report will be defined once to generate a PDF and once to generate a CSV.
Steps
1. Create an FTL template
We will start by creating the two FreeMarker templates for our reports.
CSV template
We will start with the csv template. For this one, we just need to define our headers and then go through every alarm. The data we expect to receive for this template are :
data.alarms: contains the list of alarms we want to display
Note
For this example we strictly define the columns shown, but we could also expect to receive the list of columns along the alarms to create a more dynamic template.
root/reports/ftl/alarms/csv/base.ftl
Id,Summary,Source
<#list alarms>
<#items as alarm>
${alarm._id},${alarm.summary},${alarm.source}
</#items>
<#else>
</#list>
PDF template
To create a PDF, we create a template with HTML content that we style as a pdf using CSS.
In this example, we wanted to showcase some basic but important specific aspects about FTl templates.
Importing other ftl files
In this template we import other templates by using the import directive :
macro.ftl: contains a macro to display a title with two dates
styles.ftl: contains a default style to display an html content as a PDF
Using assets
As discussed in the reports documentation, all assets (images, fonts, …) must be referenced by a relative path. In this template we display :
an image located in root.reports.ftl.public.images, so the source of the image tag needs to be root.reports.ftl.public.images.logo.png
a custom font, defined in the style.ftl file and referenced by root/reports/ftl/public/fonts/Roboto-Regular.ttf
Data model
The data we expect to receive for this template are :
locale : Language used for the template
date.dateBegin: Date from alarm table filters
date.dateEnd: Date from alarm table filters, only if filter operation is between (end of between filter)
data.company: Name of the company displayed at the bottom of each page
data.alarms: Contains the list of alarms we want to display
root/reports/ftl/alarms/pdf/base.ftl
<#ftl output_format="HTML">
<#setting datetime_format="dd/MM/yyyy HH:mm:ss">
<#setting time_zone="ECT">
<#import "../../utils/macro.ftl" as macros />
<#import "../../utils/styles.ftl" as styles />
<html>
<head>
    <@styles.pdfOnsphere />
    <style>
        table {
            page-break-after: auto;
            font-family: arial, sans-serif;
            border-collapse: collapse;
            width: 100%;
        }

        td, th {
            border: 1px solid #dddddd;
            text-align: left;
            padding: 8px;
        }
    </style>
</head>
    <body>
        <img src="root/reports/ftl/public/images/logo.png" alt="logo" width="25px" height="25px" />
        <@macros.titleWithDates dateBegin="${dateBegin}" dateEnd="${dateEnd}"/>
        <#list alarms>
            <table>
                <tr>
                    <th>
                        Id
                    </th>
                    <th>
                        Summary
                    </th>
                    <th>
                        Source
                    </th>
                    <th>
                        Severity
                    </th>
                </tr>
                <#items as alarm>
                    <tr style="background-color: ${(alarm.severity > 100)?then('#ff0000','#ffffff')}">
                        <td>
                            ${alarm._id}
                        </td>
                        <td>
                            ${alarm.summary}
                        </td>
                        <td>
                            ${alarm.source}
                        </td>
                        <td>
                            ${alarm.severity}
                        </td>
                    </tr>
                </#items>
            </table>
        <#else>
            <p>No alarms</p>
        </#list>
    </body>
</html>
1. Create a Report entity file
Now we can create two reports that are going to use one of the templates we created.
CSV
root/reports/osp/templates/csv/template.reports
{
    "moduleId": "modules.reports.reports-1",
    "baseTemplatePath": "root/reports/ftl/alarms/csv/base.ftl"
}
root/reports/osp/templates/csv/template.ospp
{
    "name": "Rapport alarmes CSV",
    "description": "Rapport d'alarmes au format csv",
    "format": "csv"
}
root/reports/osp/templates/pdf/template.reports
{
    "moduleId": "modules.reports.reports-1",
    "baseTemplatePath": "root/reports/ftl/alarms/pdf/base.ftl"
}
root/reports/osp/templates/pdf/template.ospp
{
    "name": "Rapport alarmes PDF",
    "description": "Rapport des alarmes en PDF",
    "format": "pdf"
}
3. Create the actions to generate and download
root/reports/osp/actions/generate/action.ospp
{
    "moduleId": [
        "modules.web.web-1"
    ],
    "type": "GENERATE_REPORT"
}
root/reports/osp/actions/download/action.ospp
{
    "moduleId": [
        "modules.web.web-1"
    ],
    "type": "DOWNLOAD_REPORT"
}
5. Create a dashboard with an alarm table
To create a dashboard with an alarm table, you can follow this example.
Then, we just need to add the menu we created to the table.
6. Push the configuration to the dispatcher
git add .
git commit -m "Add new reports templates"
git pull
git push
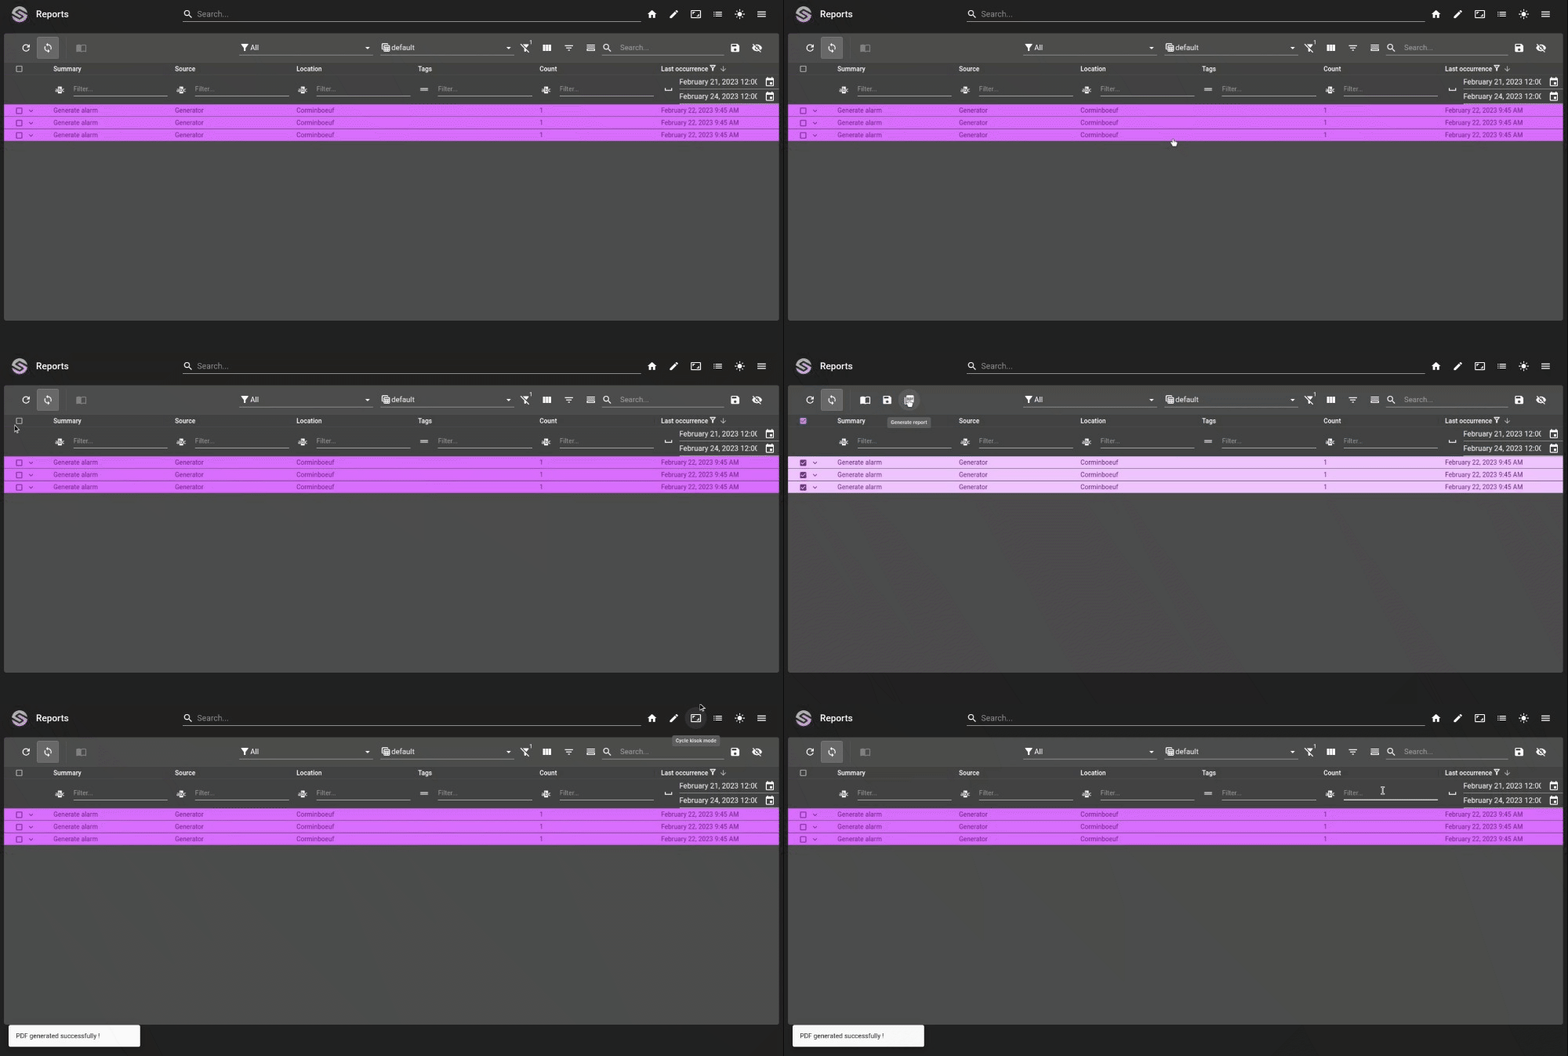
7. Generate reports
You can use the created menus to generate reports.

Add this example in your configuration
You can directly use the following command to add this example into your configuration :
git checkout origin/example-reports-basic-templates-alarms .